 ·
·
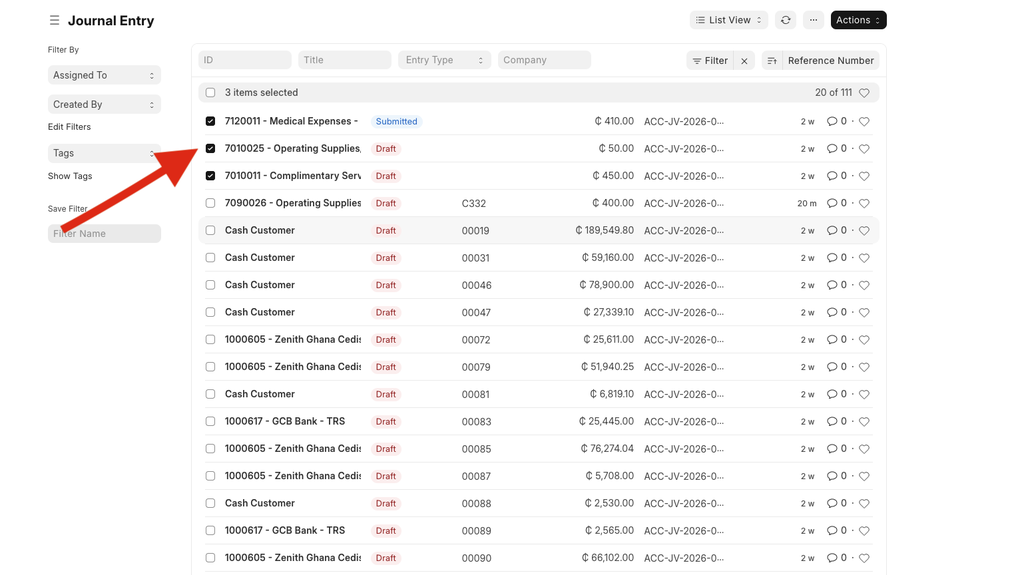
Step 1: Select Journal Entries for Review
- Go to Journal Entry List (/app/journal-entry).
- Use the checkboxes on the left to select one or more journal entries you want to review.
- Click the "Review" button that appears in the list view toolbar after clicking the "Actions" button.
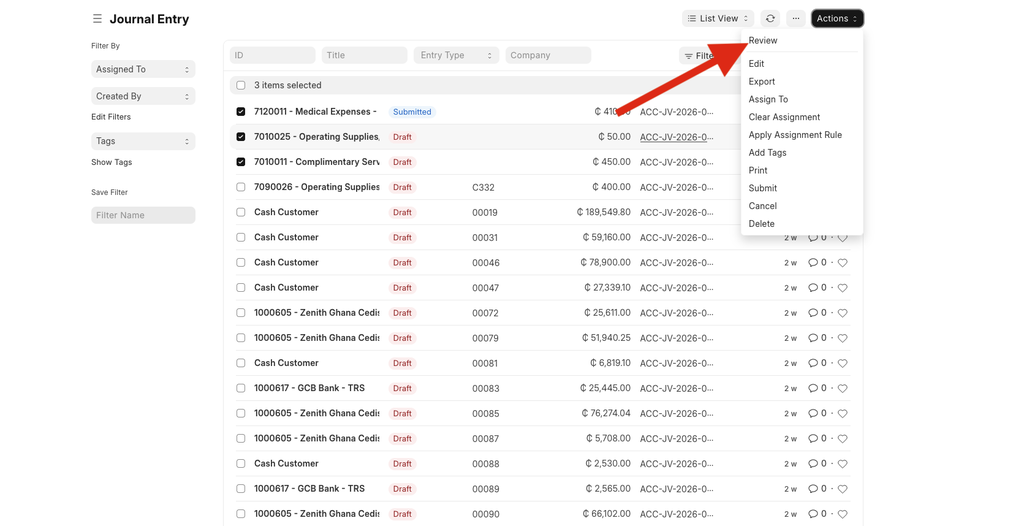
- You will be redirected to the Journal Entry Review page.
Step 2: Review the Entries Table
- The top table — "Selected Journal Entries" — shows all the entries you selected.
- Each row displays: Name, Posting Date, Voucher Type, Total Debit, Total Credit, and Status (Draft, Submitted, or Cancelled).
- A badge at the top right shows the total number of entries loaded.
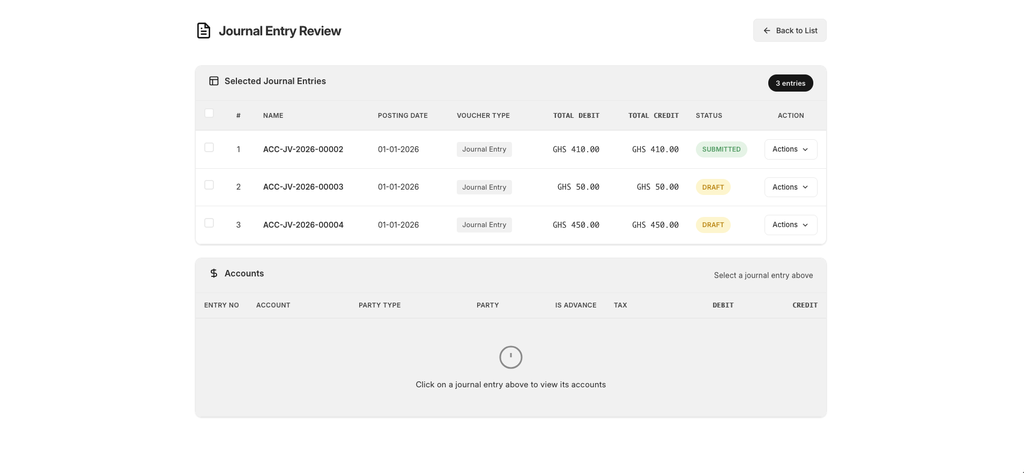
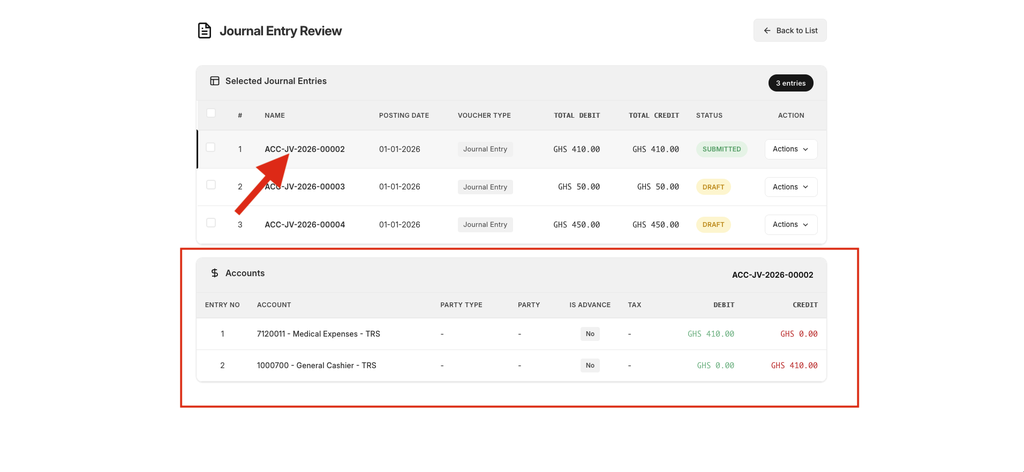
Step 3: View Account Details
- Click on any row in the entries table to view its accounting line items.
- The bottom table — "Accounts" — will load and show: Account, Party Type, Party, Is Advance, Tax Template, Debit, and Credit for each line.
- This lets you verify the debit/credit breakdown before submitting.
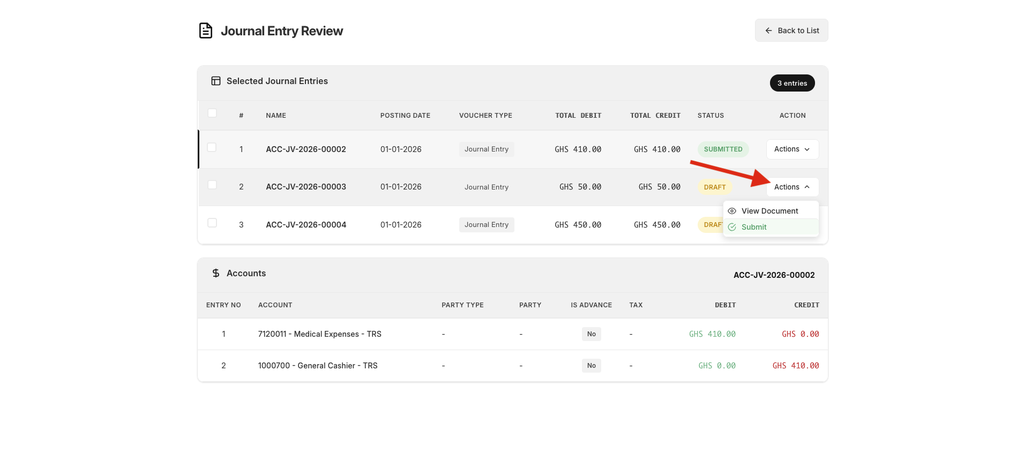
Step 4: Submit a Single Entry
- On any Draft entry row, click the "Actions" dropdown button.
- Select "Submit" from the dropdown menu.
- A confirmation dialog will appear — click Yes to proceed.
- On success, the status badge will update from "Draft" to "Submitted".
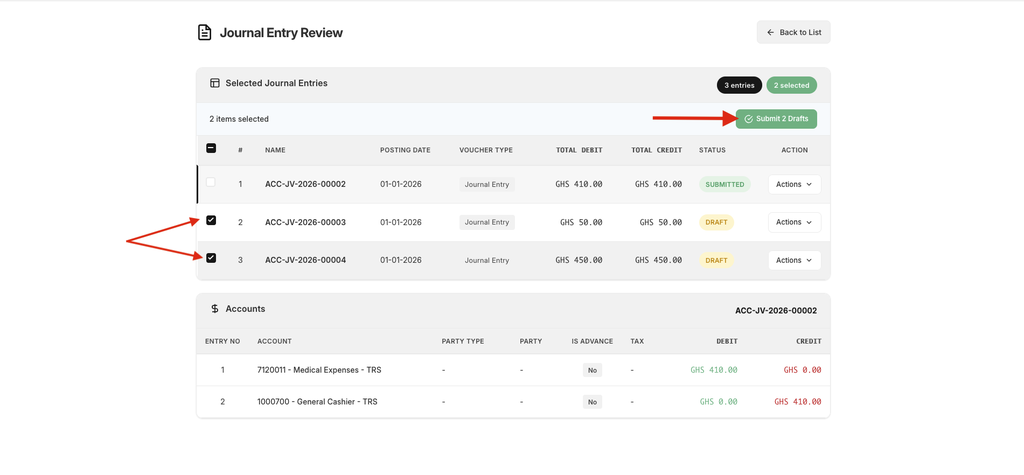
Step 5: Submit Multiple Entries at Once (Bulk Submit)
- Use the checkboxes on the left to select multiple entries (or use the top checkbox to select all).
- A blue bulk actions bar will appear showing how many items are selected.
- If any selected entries are in Draft status, a green "Submit X Drafts" button will appear.
- Click it, confirm in the dialog, and all selected draft entries will be submitted.
- A summary will show how many succeeded and any that failed.
Step 6: Open the Full Document
- Click "Actions" on any row and select "View Document" to open the full Journal Entry form in a new tab.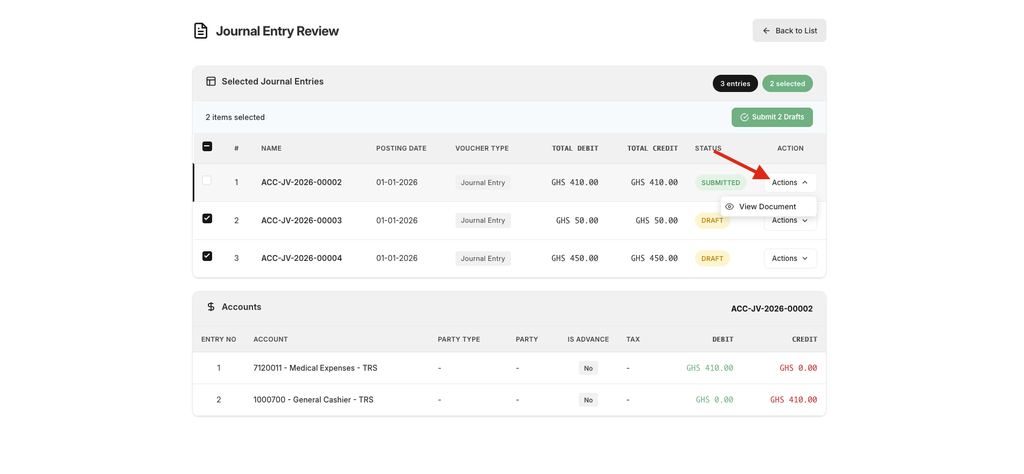
Step 7: Go Back
- Click the "Back to List" button in the top-right header to return to the Journal Entry list.

No comments yet. Login to start a new discussion Start a new discussion