Helpdesk / Support
Struggling with technical issues? Our support team is here to help! In this post, learn how to create a support ticket with ease, ensuring your problems are resolved quickly and efficiently.
Navigating technical issues can be frustrating, but having a reliable support system makes all the difference. At Carbonite Solutions, we understand the importance of swift and effective assistance. Whether you’re encountering a minor glitch or a major roadblock, our support team is here to help. In this blog post, we’ll guide you through the simple steps to create a support ticket, ensuring your issues are addressed promptly and efficiently. Let’s dive in and make your ERPxpand experience as smooth as possible!
How to Create a Support Ticket in ERPxpand
- Accessing Help:
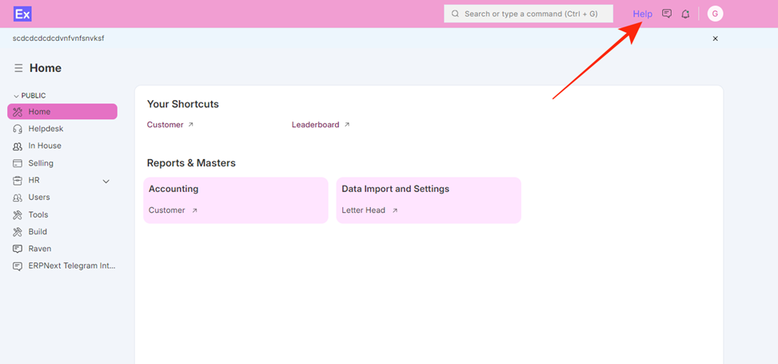
- Click on “Help” at the top right of the screen. This will take you to the sign-in page.
- Sign In:
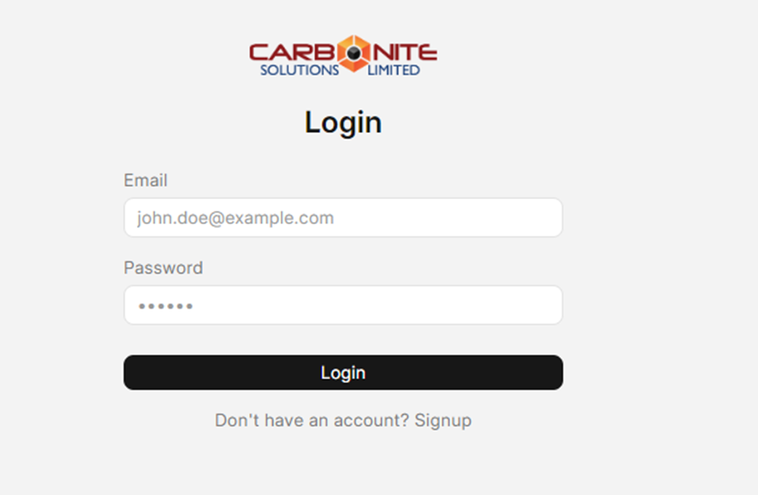
- Enter your email and password to sign in.
- If you Do not have login in credentials, click on the sign up, you will receive an email with instructions. Follow the link to set up your password.
- Creating a Ticket:

- Return to ERPxpand and helpdesk portal (erpxpand.com/help).
- Click on “Create” to add a new ticket.
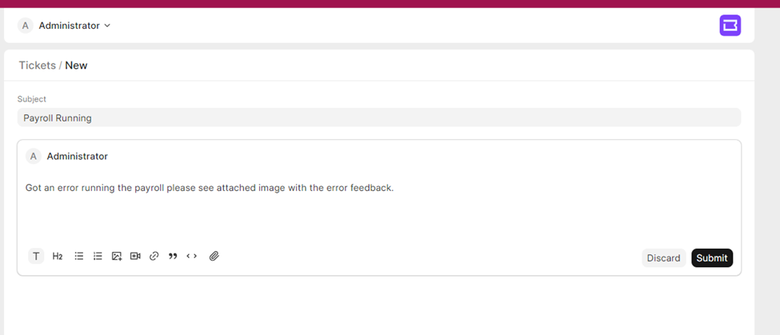
- Provide a subject that briefly describes the issue.
- Add a detailed explanation of the problem.
- Attach any relevant images, screenshots, or videos to help illustrate the issue. You can also attach files if necessary by making use of the icons down on the suggestion box.
- Submitting the Ticket:
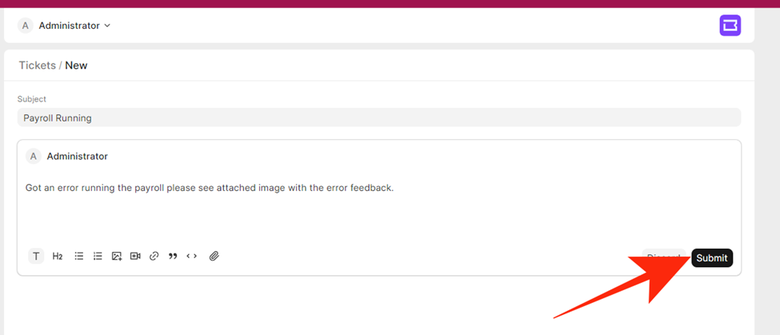
- Once all the information is added, click “Submit”.
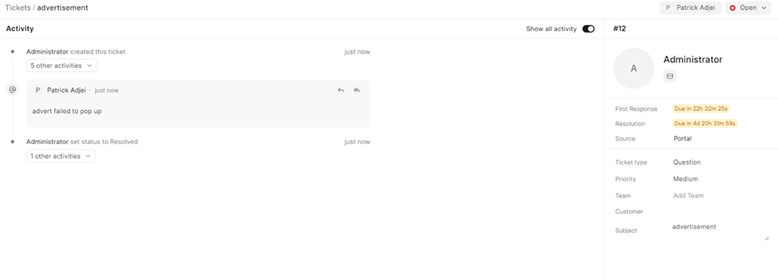
- A summary page will display the reported issue.
- Tracking Your Ticket:

- Click on “Tickets” at the top left corner of the page.

- Here, you can view the status, priority, response, resolution, and the date the ticket was created of all tickets raised.
No comments yet. Login to start a new discussion Start a new discussion